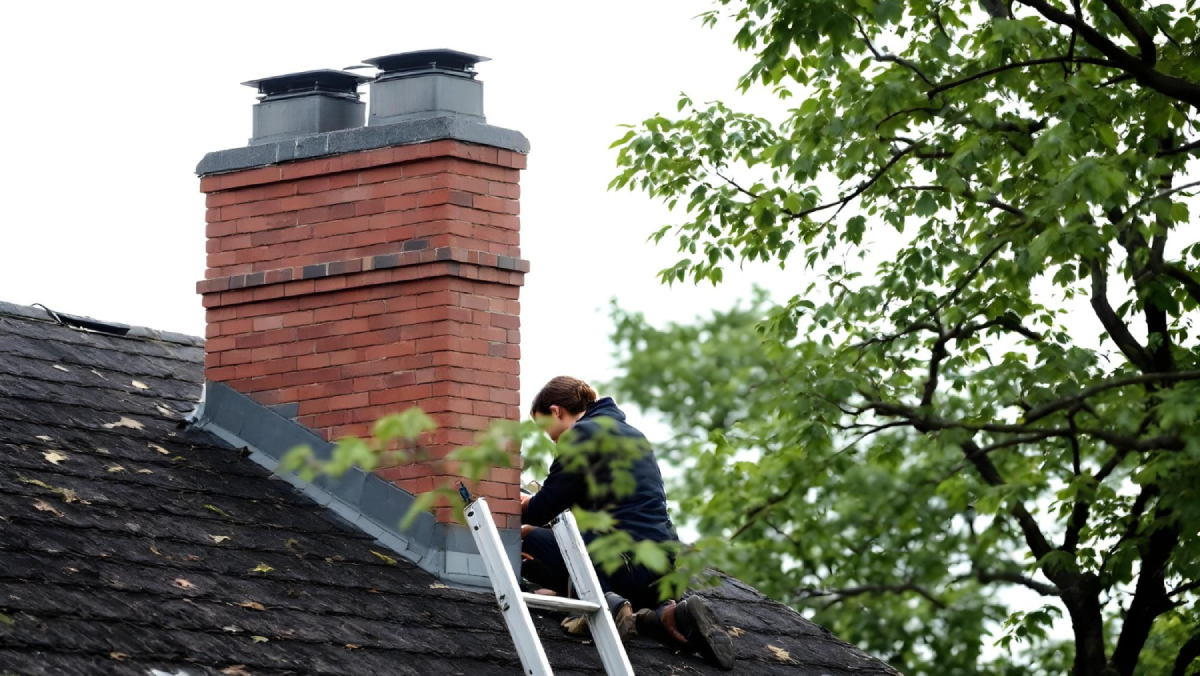
When people talk about roof chimney repair services in NJ, most homeowners don’t exactly perk up with excitement. I mean, let’s be honest your chimney is one of those things you probably ignore until something weird happens.
Maybe you spot a brownish water stain spreading across the ceiling like a coffee spill, or you catch that damp, musty smell sneaking out of your attic. Sometimes it’s crumbling bricks around the fireplace that make you think, “Wait a second… that can’t be good.”
I’ve been there myself. For years, I never gave my chimney more than a passing glance. It was just “that tall brick thing” sticking out of the roof. But once flashing problems and cracks start showing up?

That’s when you realize this little architectural detail can cause some big headaches if you don’t act fast.
The good news: chimney repair isn’t some mysterious, impossible-to-understand process. In fact, professional repair crews know exactly how to tackle flashing issues and cracks in a way that not only fixes the problem but also helps you dodge much bigger (and pricier) disasters down the road.
So let’s break it down together.
Why Chimney Flashing Is Key to Roof and Chimney Longevity?
Okay, picture this: chimney flashing is essentially the “raincoat” that protects the base of your chimney. It’s usually made of metal, and it hugs the area where the chimney meets the roof. What’s its whole job? To block water from sneaking inside.
Damaged flashing is like leaving your window cracked open during a thunderstorm—you might not notice at first, but slowly, water seeps in, soaks the wood, breeds mold, and suddenly you’re dealing with soggy insulation, warped ceilings, or worse.
Ever see peeling paint around your fireplace or mysterious stains that keep reappearing after you repaint? That’s often flashing, telling you it’s given up on doing its job.
How the Pros Actually Fix Chimney Flashing
So, let’s say you call in a crew to get roof chimney repair services in NJ. Here’s what typically happens:
1. The Inspection
Step one is always the detective work. They’ll climb up, check the flashing, and figure out whether it’s just loosened, rusted out, or missing in whole chunks. Sometimes it’s as simple as a little lifting in the corners.
2. Removing the Old Stuff
If the flashing is a lost cause, the pros strip it out. They’ll clean the area so no old rust flakes or bits of mortar interfere with the new installation. Think of it like prepping a canvas before painting—you need a smooth surface.
3. Installing New Flashing
Here’s the cool part: flashing isn’t “one-size-fits-all.” They cut fresh metal pieces to fit your chimney perfectly. Every chimney has its own quirks—different slopes, angles, and dimensions. Done right, the new flashing fits like a tailored suit.
4. Sealing It Up
Once the flashing is fitted, it gets sealed with high-quality roofing cement or specialized sealants. This step is critical. A sloppy seal is basically an open invitation for leaks to creep back in.
5. Testing the Job
Good chimney techs don’t just pack up after installation. They’ll check and recheck. Some even pour water to simulate rain, just to make sure nothing slips through the cracks.
By the end of this process, your chimney has a watertight barrier ready to handle anything Jersey weather throws at it whether it’s a spring downpour or that heavy winter snow.
Cracks: The Silent Trouble-Makers
Now, flashing might be the front-line defense, but cracks in the chimney itself? Those are the sneaky villains in this story.
Think about what your chimney goes through: blazing summer heat, freezing winter nights, endless rain, whipping winds. That constant expansion and contraction takes a toll.
Over the years, bricks and mortar develop hairline cracks. Doesn’t sound like much, right? Tiny little lines in the brick?
Here’s the problem: water loves cracks. It seeps in, freezes, expands, and makes the crack bigger. Do this cycle a few times, and suddenly that “little” crack has grown into something that threatens the stability of the whole chimney. In worst-case scenarios, sections can crumble or tilt.
How Chimney Repair Services Handle Cracks
So how do the pros fix cracks before they cause major chaos? Let’s break it down.
Step 1: Assess the Damage
Just like with flashing, everything starts with an inspection. They’ll check if cracks are shallow (surface-level cosmetic stuff) or if they run deeper into the structure.
Step 2: Clean Things Up
Loose mortar, dust, dirt it all has to go. Cleaning the cracks ensures the repair materials bond properly, rather than just sitting on top.
Step 3: Fill the Cracks
- Small cracks: These often get filled with flexible, waterproof sealants or masonry caulk. Quick and effective.
- Bigger cracks: This is where tuckpointing comes in. Old mortar is carefully removed and replaced with fresh mortar, restoring the chimney’s strength.
Step 4: Add Protection
After the repair, many pros apply a waterproofing treatment over the brickwork. This isn’t just a “nice to have” it’s extra armor against moisture sneaking back in.
Step 5: Rebuilding, If Needed
In cases where the cracks are serious like, whole sections of the chimney are compromised they may have to rebuild part of it. That could mean replacing damaged bricks or even reconstructing the chimney crown (the top cap that keeps water out).
Final Thoughts
Your chimney does more than just make your house look nice; it also protects it. If you don’t fix damaged flashing or cracks, they can quickly turn into leaks and problems with the structure that cost a lot of money. That’s why it’s important to fix things quickly.
Top Pro Construction LLC is the best place to go for roof chimney repair services in NJ. We can replace flashing, fix cracks, and make sure your roof is waterproof. Don’t let small problems get worse call us today and let our skilled team keep your chimney strong, safe, and watertight.
